Why do you wanna get the Acrylic Nails?
Acrylic Nails are very resistant and avoid the cracking of the nails, so they are perfect for you with weaker nails or tend to break. Its maintenance is every 15-20 days (depends on the growth of your nail) and they are very durable.
The advantages of acrylic nails: Durability, Versatility, Creativity, Perfection, Uniformity.
So don’t you wanna try to do your acrylic nails at home by yourself?
Come on! Start learning now.

How long does your natural nail need to be to get acrylic nails?
Your natural nail doesn’t need to be long to get acrylic, as a matter of fact, it’s sometimes preferable when your nails are short because it makes it a little easier to add tips or fit a form for added length.
If you have extremely short or bitten nails that’s not a major problem either, as long as there’s some nail there for the product to adhere to, you can get acrylic.
DIY Acrylic Nails At Home
Step 1: Trim, file and shape your nails; remove any dead cuticles and old nail polish
Cuticle Pusher Gel Polish Remover
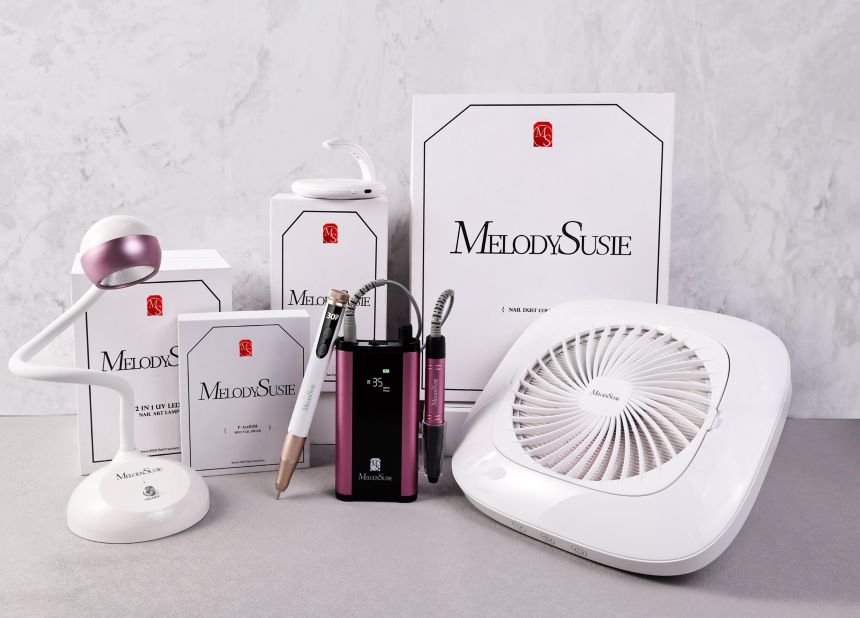
Scamander Rechargeable Nail Drill
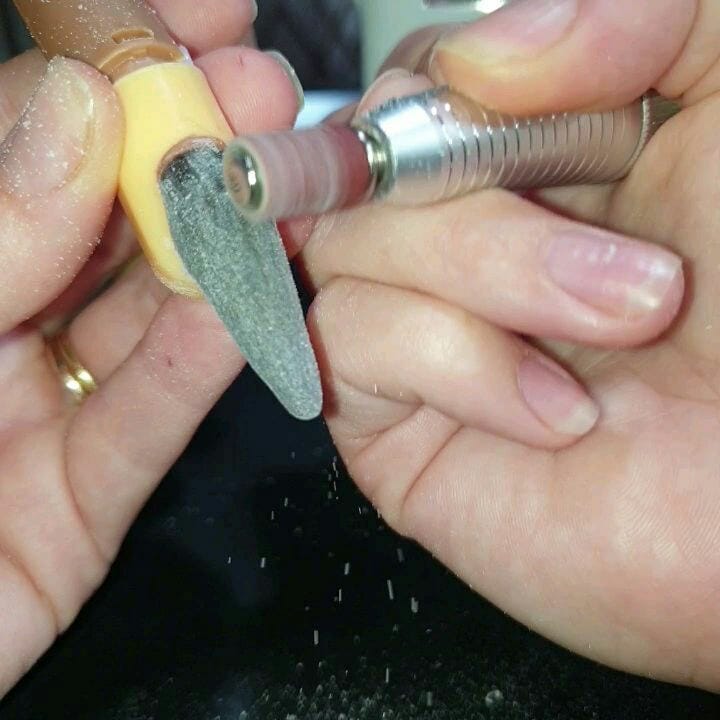
TIPs: You need to use sanding bands, Medium (Small Flame Top) or Fine (Cuticle Clean Ball Top) grit
Ceramic Nail Drill Bits Set (7pcs)
300pcs Professional Sanding Bands
Step 2: Apply nail tip, pick out the correct size nail tips that fit your nail snugly and lay them out ready.
Natural Full Cover Acrylic False Nails
Or Clear Full Cover Acrylic False Nails
File down the nail tip to the shape you would like (round, square, rounded square, oval, squoval, ballerina, almond, stiletto, and lipstick)

Step 3: Use the nail drill to remove ledge with sanding bands mentioned above

Step 4: Apply Nail Prep/Dehydrator.
Nail Prep/Dehydrator

Step 5: Pour your acrylic liquid into the dish. Dip your acrylic brush in the liquid. Try to avoid bubbles, but if they do form, simply press your brush to the bottom of the dish and start again. Use the edges of the dish to drop any excess liquid.
Acrylic Nail Brush Set, 7pcs
Acrylic Powder
Acrylic Liquid
TIPs: Make sure not too dry or too wet. (Move your brush to the acrylic powder, dip it in and do a few strokes until a‘ball’ shape of acrylic starts to form on your brush. At this stage you’ll more than likely have excess liquid, so wipe this off using the lint-free wipes.)

Step 6: Place your brush on the top of your nail (close to the cuticle), then add pressure so the acrylic covers the whole nail. Dip your brush in the acrylic liquid in between, to make spreading it evenly easier. You can repeat the steps if necessary!
Step 7: Encapsulate with the Clear Acrylic Powder
Clear Acrylic Powder
Step 8: The acrylic is dry when you tap it and you hear it make a “ping” sound. Once this happens, you can use your pinching tool and nail file to shape your nails to the desired length.

Step 9: Shape, file and buff your acrylic nails
Sparkle Pro Rechargeable Nail Drill 35,000RPM
Blue Carbide Nail Drill Bits Set (7pcs)

Step 10: Clean your nails with alcohol, and Apply Top Coat to the nails.
Amazing! You did it!!!











19 comments
Iris M Perez
I’m so glad I found this web page I’m going to try to do my own nails.
Maritza
I also suggest taking your time and being patient with the application process. Acrylic nails require precision and attention to detail, so don’t rush the process.
Rachel
This tutorial is exactly what I was looking for. As a beginner, I find it so helpful to have a guide that breaks down the process into simple and easy-to-follow steps.
Sol
Thank you for providing a comprehensive guide on applying acrylic nails. Could you offer any advice on how to avoid bubbles or ridges in the acrylic application?
Dedra
I hope this tutorial helps beginners get started with acrylic nails. If you have any questions or need further guidance, don’t hesitate to reach out to a professional in the industry for advice.
Leave a comment
All comments are moderated before being published.
This site is protected by hCaptcha and the hCaptcha Privacy Policy and Terms of Service apply.