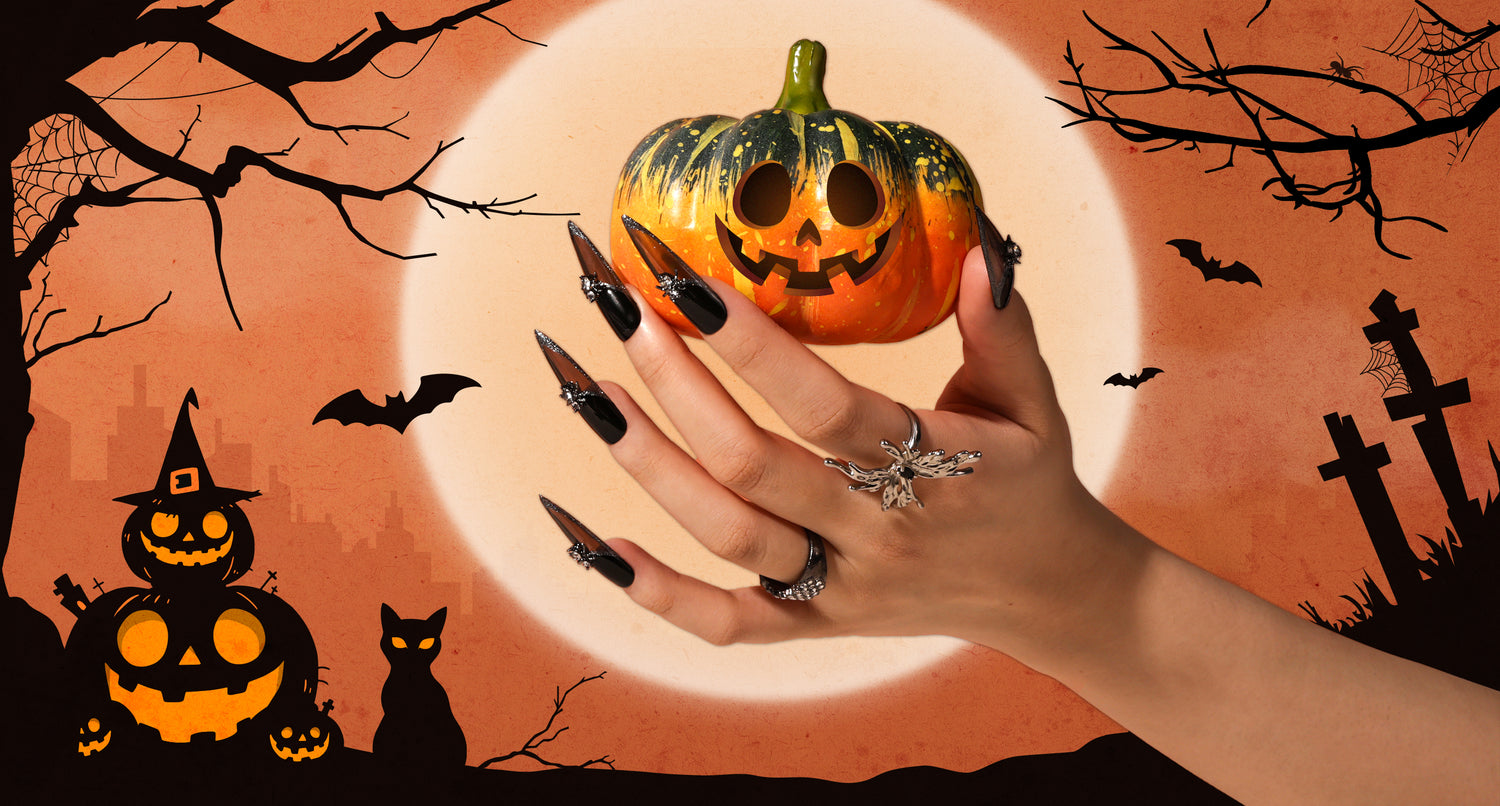
Halloween is just around the corner! Still not getting your nails done for the special occasion or do not have time to go to the salon? Don't worry, MelodySusie has prepared a step-by-step guide to get your Halloween nails done in no time! The magic is in the decorations!
Here is the Quick 3-Step Halloween Nail Art Guide

Step 1: Prepare your nails
- Apply Jeweliver Jelly Gel Polish Transparent Black on your nails or nail tips in your preferred shape. The tip shape here is Long Stiletto Nail Tips. Cure under the UV/LED lamp for 60 seconds.
- Apply Thick Gel Polish 480 Black Abysson your nails, using the nail liner brush to help guide the color filling. Cure under the UV/LED lamp for 60 seconds.

Step 2: Draw glossy lines around the edge
- Draw glitter lines around the edges of the nail to add a touch of sophistication to your designs. Here we used the color: MelodySusie Thick Gel Polish Z200 Black Gray Glitter. Cure under the UV/LED lamp for 60 seconds.
- Apply top coat and cure under the lamp for 60 seconds for long-duration effects.

Step 3: Here comes the important part! Glue on the 3D accessories.
- Glue the 3D spider nail accessories using rhinestone glue. You can use tweezers for precise positioning.
- Cure your nails under the portable P-Art01R Mini LED/UV Nail Art Lamp for 10 seconds.

By following these steps, you can quickly create stunning Halloween-themed nail art, perfect for adding a festive touch to your look!
Tips for Best Results
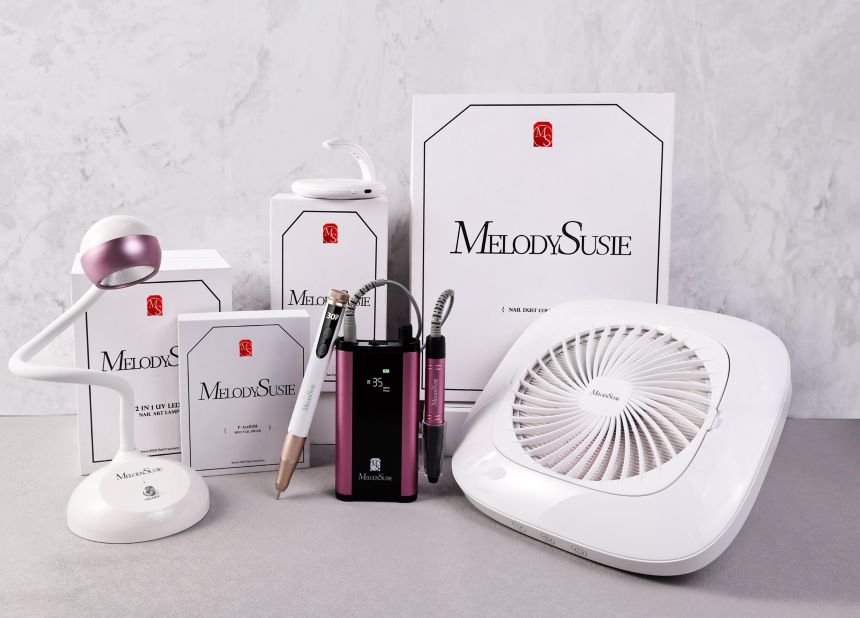
- MelodySusie's P-Art01R Rechargeable Mini LED/UV Nail Art Lamp has a fast cure feature that can cure gel nail polish and rhinestone glue in less than 10 seconds. Use this mini nail lamp to ensure that these decorations are firmly attached to the nails and prevent them from falling off during daily activities.
- Avoid Overloading with Gel, too much gel can cause the gems to move or lift off.
- Make sure each layer is fully cured to ensure the longevity of your nail art.
More Stylish Halloween Nails
There are even more stylish Halloween nail art designs that can be done quickly using 3D accessories or stickers! Check them out!
Style #1: Glowing effect with stickers


@chulanailz
Glow-in-the-dark nail designs typically stand out in low-light environments. It combines neon colors with glow-in-the-dark elements. Imagine a vibrant green base that glows eerily in the dark, perfect for Halloween parties and trick-or-treats. Put on classic Halloween motifs stickers to evoke the eerie atmosphere of this holiday.
Style #2: Weave spiderweb

@glamourrghoull
Minimalist nail art continues to make waves this Halloween, capturing the essence of the spooky season with understated elegance. Simple yet striking spider web designs are particularly popular, offering a chic and sophisticated way to celebrate without overwhelming your overall look. These delicate patterns created with fine silver lines on a black base, make a bold statement while maintaining a refined aesthetic. You can choose spiderweb stickers to help speed up the manicure process.
Style #3: Gothic glamour

@ibedoingnails
Gothic-inspired manicures are always extremely well-liked on Halloween. The rich dark tones of deep purple and black are paired with 3D accessories such as skeletons, skulls, chains and other intricate accessories, capturing the essence of Halloween's dark allure. To add a touch of vibrancy and keep the look from being too dull, a pink and purple gradient is incorporated.
Style #4: Timeless symbols with a modern twist

@nailedbyfabs_
Halloween nail art designs have traditionally featured iconic motifs such as ghosts, pumpkins, ghost faces, and spiders. These classic elements capture the essence of the spooky season and are beloved by many. This year, however, there's a fresh twist on these traditional designs. Incorporating the previously mentioned Halloween aspects, this innovative manicure also introduces a patch pattern and a stripe design. These new additions blend seamlessly with the classic designs to create a unique and eye-catching look. This creative pattern ensures that your nails will certainly make a big impression at any Halloween gathering.
Check out more Halloween Stickers and Decorations at MelodySusie for your quick and stylish nail designs to match with your costumes!
Conclusion
As you immerse yourself in the Halloween nail art trends, remember that the key to nail art is creativity and practice. Hopefully, the tutorials and tips in this blog will enable you to achieve the glitzy Halloween manicure you've always wanted. Add a touch of spooky elegance to your Halloween festivities with every stroke and embellishment. So, grab your nail polish, unleash your imagination, and make this Halloween unforgettable with stunning nail designs. Happy haunting!







Leave a comment
All comments are moderated before being published.
This site is protected by hCaptcha and the hCaptcha Privacy Policy and Terms of Service apply.