Stunning nail art design requires superb hand-painting skills and profound experiences. But for beginners, it is not something that can be done in a while.
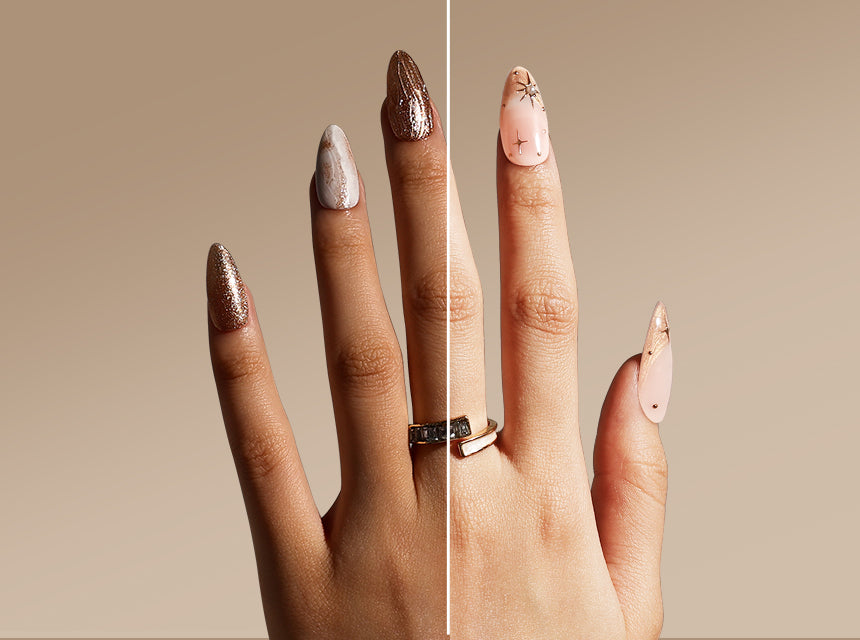
In October, MelodySusie released a short TikTok video, comparing the manicures made by the same person two years ago and now. While doing this video, our professional manicurist mentioned that it would be a great encouragement for beginners if they could do good-looking manicures in the early stage.
That is the reason why we provide you (beginners) with this tutorial.

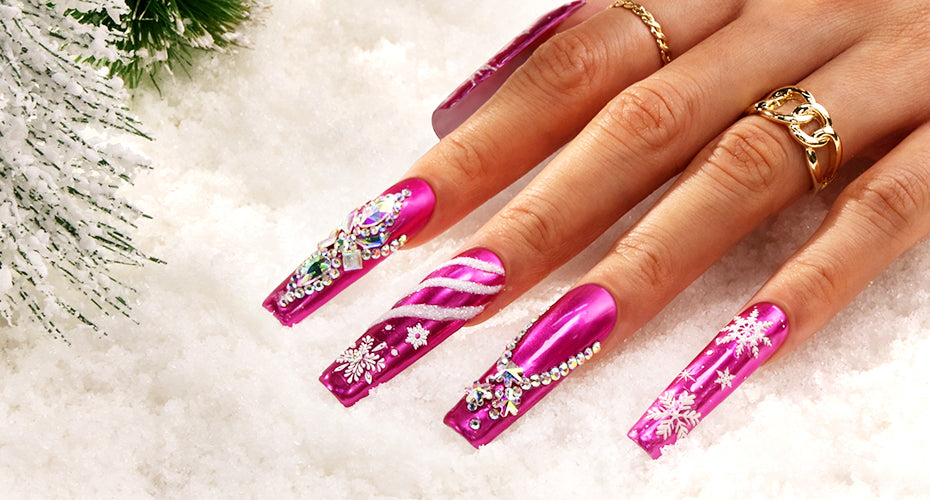
Christmas holiday is just around the corner. Today we will provide some ‘cheating’ steps to help you complete the stunning winter holiday manicure simply for both beginners and experienced nail technicians.
Let’s DIY now!
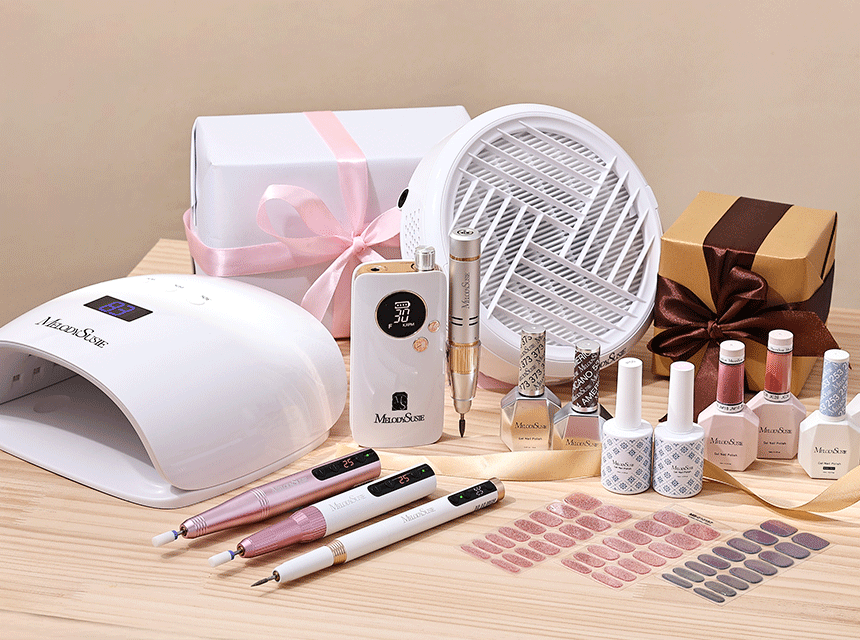
What We Need to Prepare
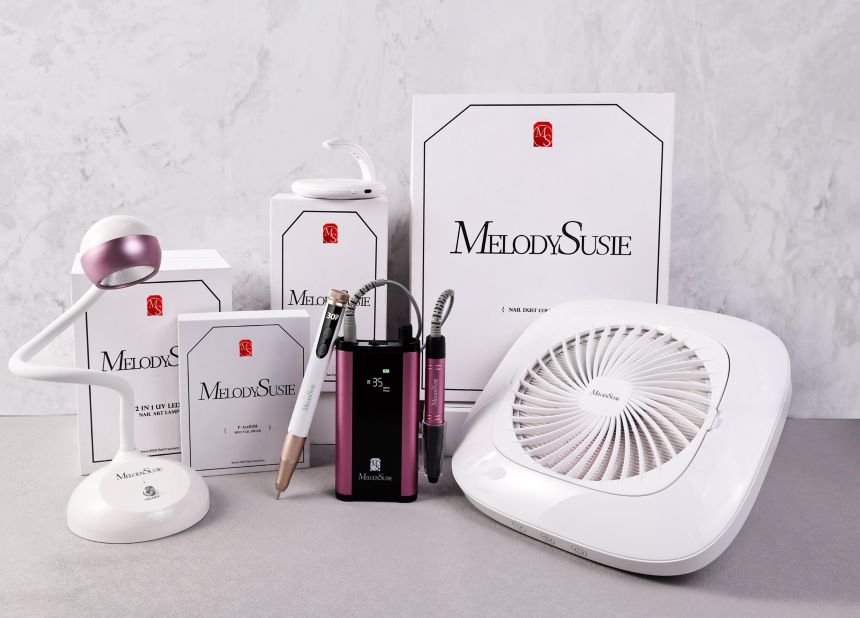
1.Scamander Rechargeable Nail Drill

To help you remove the old manicure and file your fingernails more easily.
> 30,000 RPM
> Beginner Friendly
> Smart LCD Screen
2. ‘Jingle Jangle’ Gel Polish

The colors of the Christmas atmosphere also save you time to think about color matching.
> Special for Christmas day
> Long-Lasting & Fast Cure
> 2 Top Coat & 2 Base Coat
3. 3D Christmas Nail Art Sticker

Complete the 3D design in a second without requiring your carving ability.
> Holiday Unique Design
> Stunning Quality
> Easy to Use
4. Mix Laser Nail Art Sequins

Unlike large sequins, Sequins can bring delicate and sparkling colors to nails.
> Sparkly Colors
> Classic Christmas and Winter Style
> Easy to Use
5. Metallic Mirror Chrome Nail Powder

One of the popular manicure elements in 2022 is the metallic feel.
> Mirror Glitter Effect
> Easy to Apply
> Unique Texture
How We DIY the Gorgeous Winter Holiday Manicure with Simple Decorations
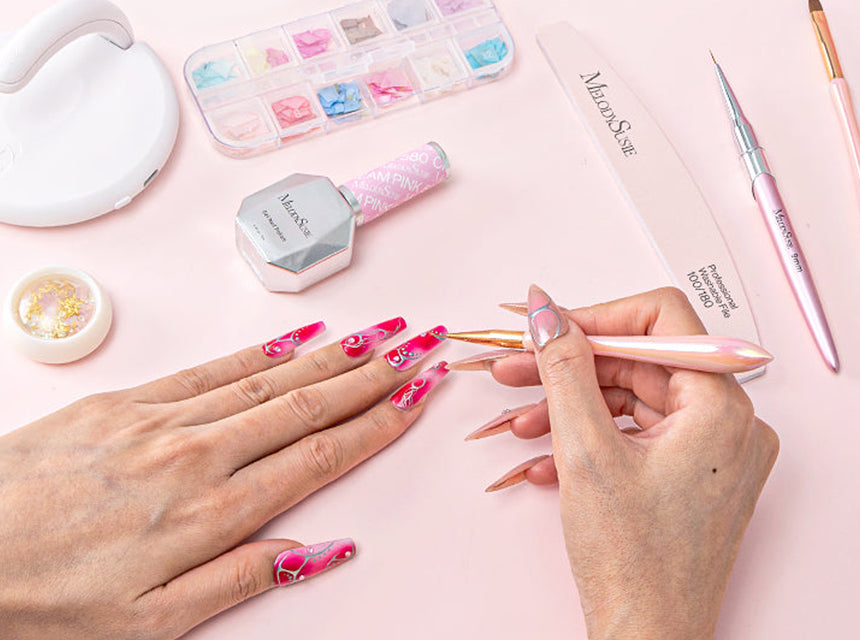
In addition to the normal manicure steps that everyone is already familiar with, such as applying base coat and top coat, today we are going to introduce four special but still very simple steps.
1. Apply the Mirror Chrome Nail Powder

2. Draw Some Easy Lines

3. Apply the Laser Nail Art Sequins

4. Glue the 3D Stickers

You could find more details in this tutorial video!
In addition, our professional manicurist is also happy to provide some tips here. I hope they are helpful to your manicure practices!
Some Manicure Tips We Need to Know
1. Is there a strict standard for what RPM should I use with different nail drill bits?
No. Although we recommend that different nail drill bits should be used in the corresponding speed range, this is not a strict requirement. For beginners, you can gradually practice from low speed until you find the speed that suits you.
2. What is the most important step in preparation?
Prepare your cuticle area. You can use the diamond nail drill bits to treat the cuticle area, then use a cuticle clipper to cut away the excess dead skin.
3. How can I make my manicure last longer?
In addition to the above-mentioned cuticles that need to be cleaned well, the base coat and top coat are also very important. They are like the foundation and roof while building a house.
Click the following links if you wanna find more easy manicure tutorial and the product introduction.
The Hottest Nail Art Trends To Try In A Few Simple Steps
Doing Autumn Manicure Easily with MelodySusie 2022 Fall Collection
4 Easy Steps to Do Nail Extension by Applying Acrylic Powder on Nail Tips









11 comments
Tounzlanae
Wow, I am blown away by the beautiful holiday-themed nail art design. I love MelodySusie nail drill and I can’t wait to try them out for myself. This tutorial is so helpful and I can’t wait to show off my new nail art skills. Thank you for the inspiration!
Leave a comment
All comments are moderated before being published.
This site is protected by hCaptcha and the hCaptcha Privacy Policy and Terms of Service apply.