


1. What Are Nail Sanding Bands
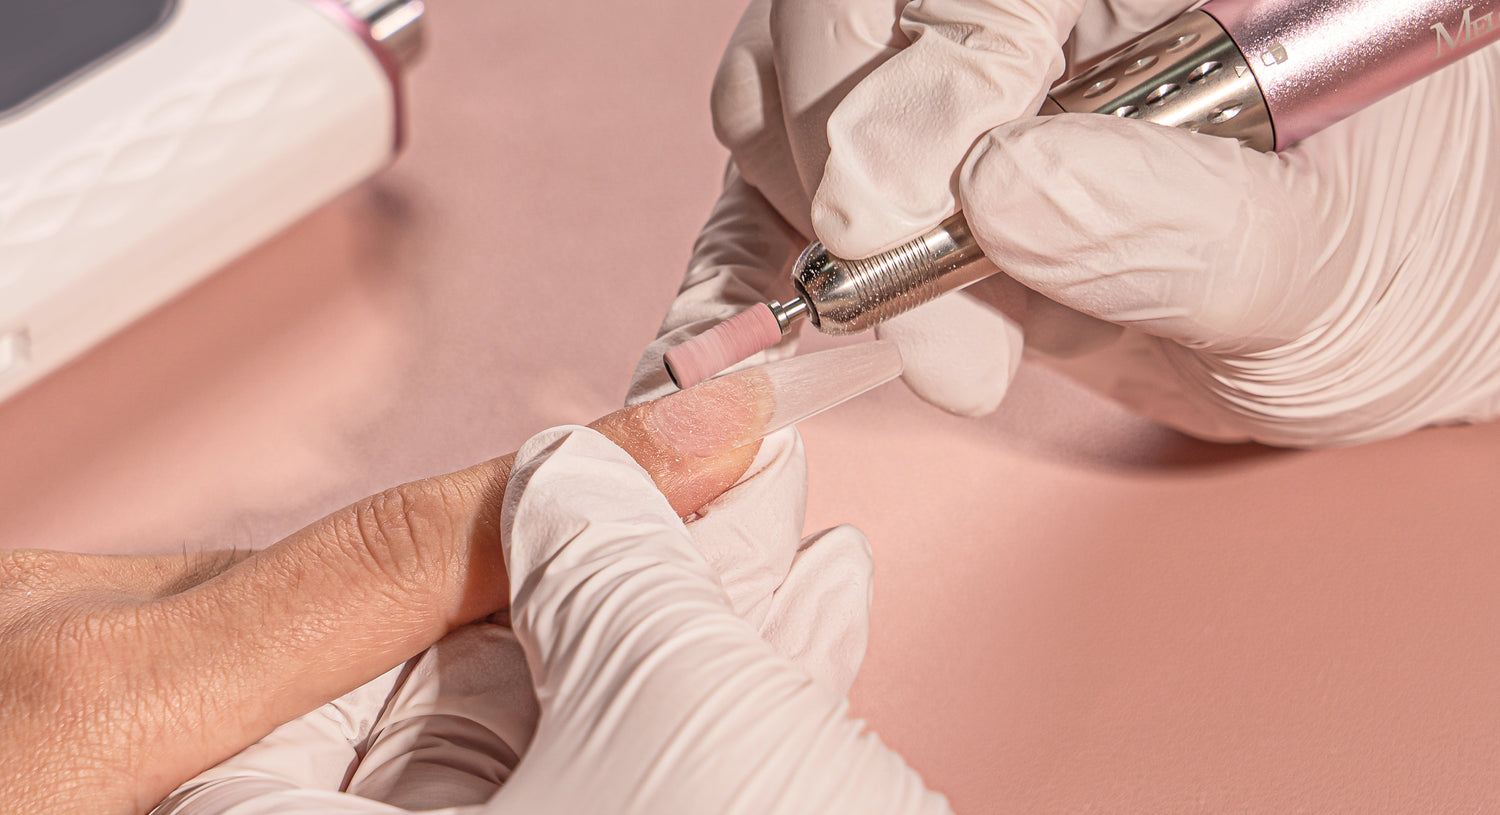
Before we delve into the specifics, let's first understand what a nail sanding band is. Basically, sanding bands for electric nail drills are cylindrical attachments made of abrasive material, typically sandpaper or emery. They are designed to be used with electric nail drills, which provide a faster and more efficient way of achieving salon-quality nails. Its primary function is to shape, file, and smooth the surface of the nail for optimal nail care and nail art application.
2. Types of Nail Sanding Bands
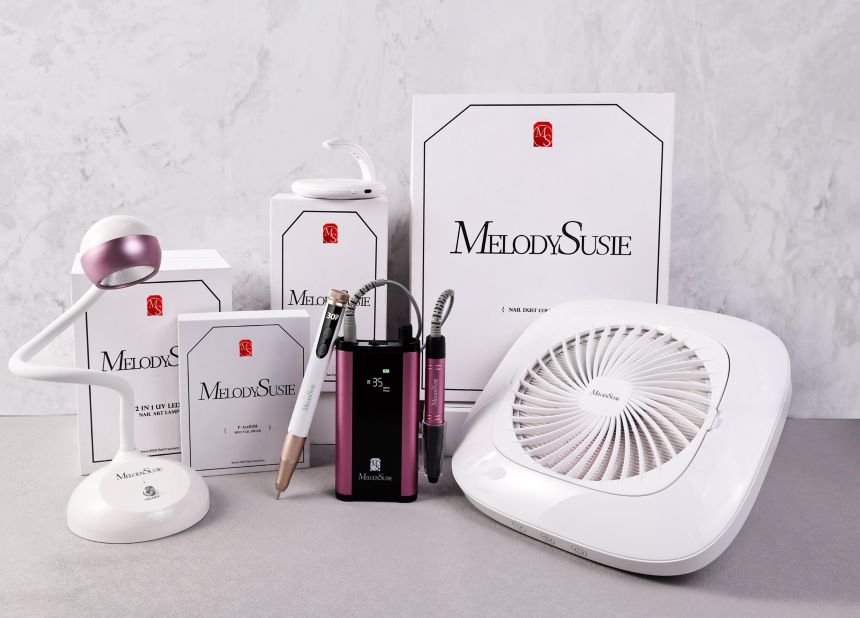
MelodySusie has introduced two of the most popular nail sanding bands on the market:
2.1 Drum Nail Sanding Bands:
These bands have a rubber sleeve that slides onto a drum-shaped attachment. They are ideal for surface filing and polishing.

2.2 Barrel Nail Sanding Bands:
These bands have a cylindrical shape and are commonly used for smoothing and shaping the edges of the nails. It is also subdivided into standard sanding band and small sanding band.
(1) Standard Nail Sanding Band
Standard nail sanding bands feature a wider diameter, making them ideal for tasks requiring substantial removal or shaping, such as filing down thick acrylic or gel nails or refining the shape of extensions. With their larger surface area, they offer a quicker and more efficient solution, commonly favored by professionals and users with thicker nails.

Small-sized nail sanding bands have a smaller diameter and are tailored for more intricate or delicate work, like refining the natural nail shape, smoothing out rough edges, or removing gel polish residue. Whether used by professional nail technicians or home users, small-sized bands are essential for detailed nail care and intricate designs.

3. Choosing the Right Nail Sanding Band for Your Needs
Nail sanding bands come in a variety of types, each with a different grit level. The grit level determines the coarseness or fineness of the sanding band. Generally speaking, the higher the grit, the lower the roughness, and vice versa. We've categorized them into four levels to illustrate various use cases.

3.1 Coarse Grit Sanding Bands
Coarse grit sanding bands have a lower grit level, typically 80 grits. These bands are ideal for removing acrylic or gel overlays, shaping thick nails, and shortening the length of the nails. They are not recommended for natural nails as they can cause damage.
 Coarse grit to remove the gel
3.2 Medium Grit Sanding Bands
Medium grit sanding bands have a grit level of 120. These bands are suitable for refining the shape of the nails, smoothing rough edges, polishing the nail surface of the acrylic, and removing minor imperfections. They are versatile and can be used on both natural and artificial nails.
 Medium grit to polish the nail surface of the acrylic
3.3 Fine Grit Sanding Bands
Fine grit sanding bands have a grit level of 180. These bands are used for gentle shaping, buffing the surface of the nails, and preparing them for polish or nail art. They are suitable for natural nails and can also be used on artificial nails.
 Fine grit to buff the surface of the nail tip
3.4 Extra Fine Grit Sanding Bands
Extra fine grit sanding bands have a grit level of 240. These bands are used for final buffing, creating a smooth and shiny surface on the nails. They are primarily used for natural nails and are not recommended for artificial nails.
 Extra fine to buff natural nails
4. Tips for Using Nail Sanding Bands
4.1 Safety Precautions
Use a lower speed setting on your nail drill or electric file to prevent overheating or burning the nails.
4.2 Proper Technique
Start shaping the nails with a coarse grit band, gradually moving to finer grits for smoothing and refining. And please hold the nail sanding band at a slight angle to avoid creating flat spots on the nails.
4.3 Maintenance and Cleaning
Regularly clean the nail sanding bands by removing debris with a cleaning brush.
4.3 Storage
Store the bands in a dry, closed container or pouch to protect them from moisture and dust.
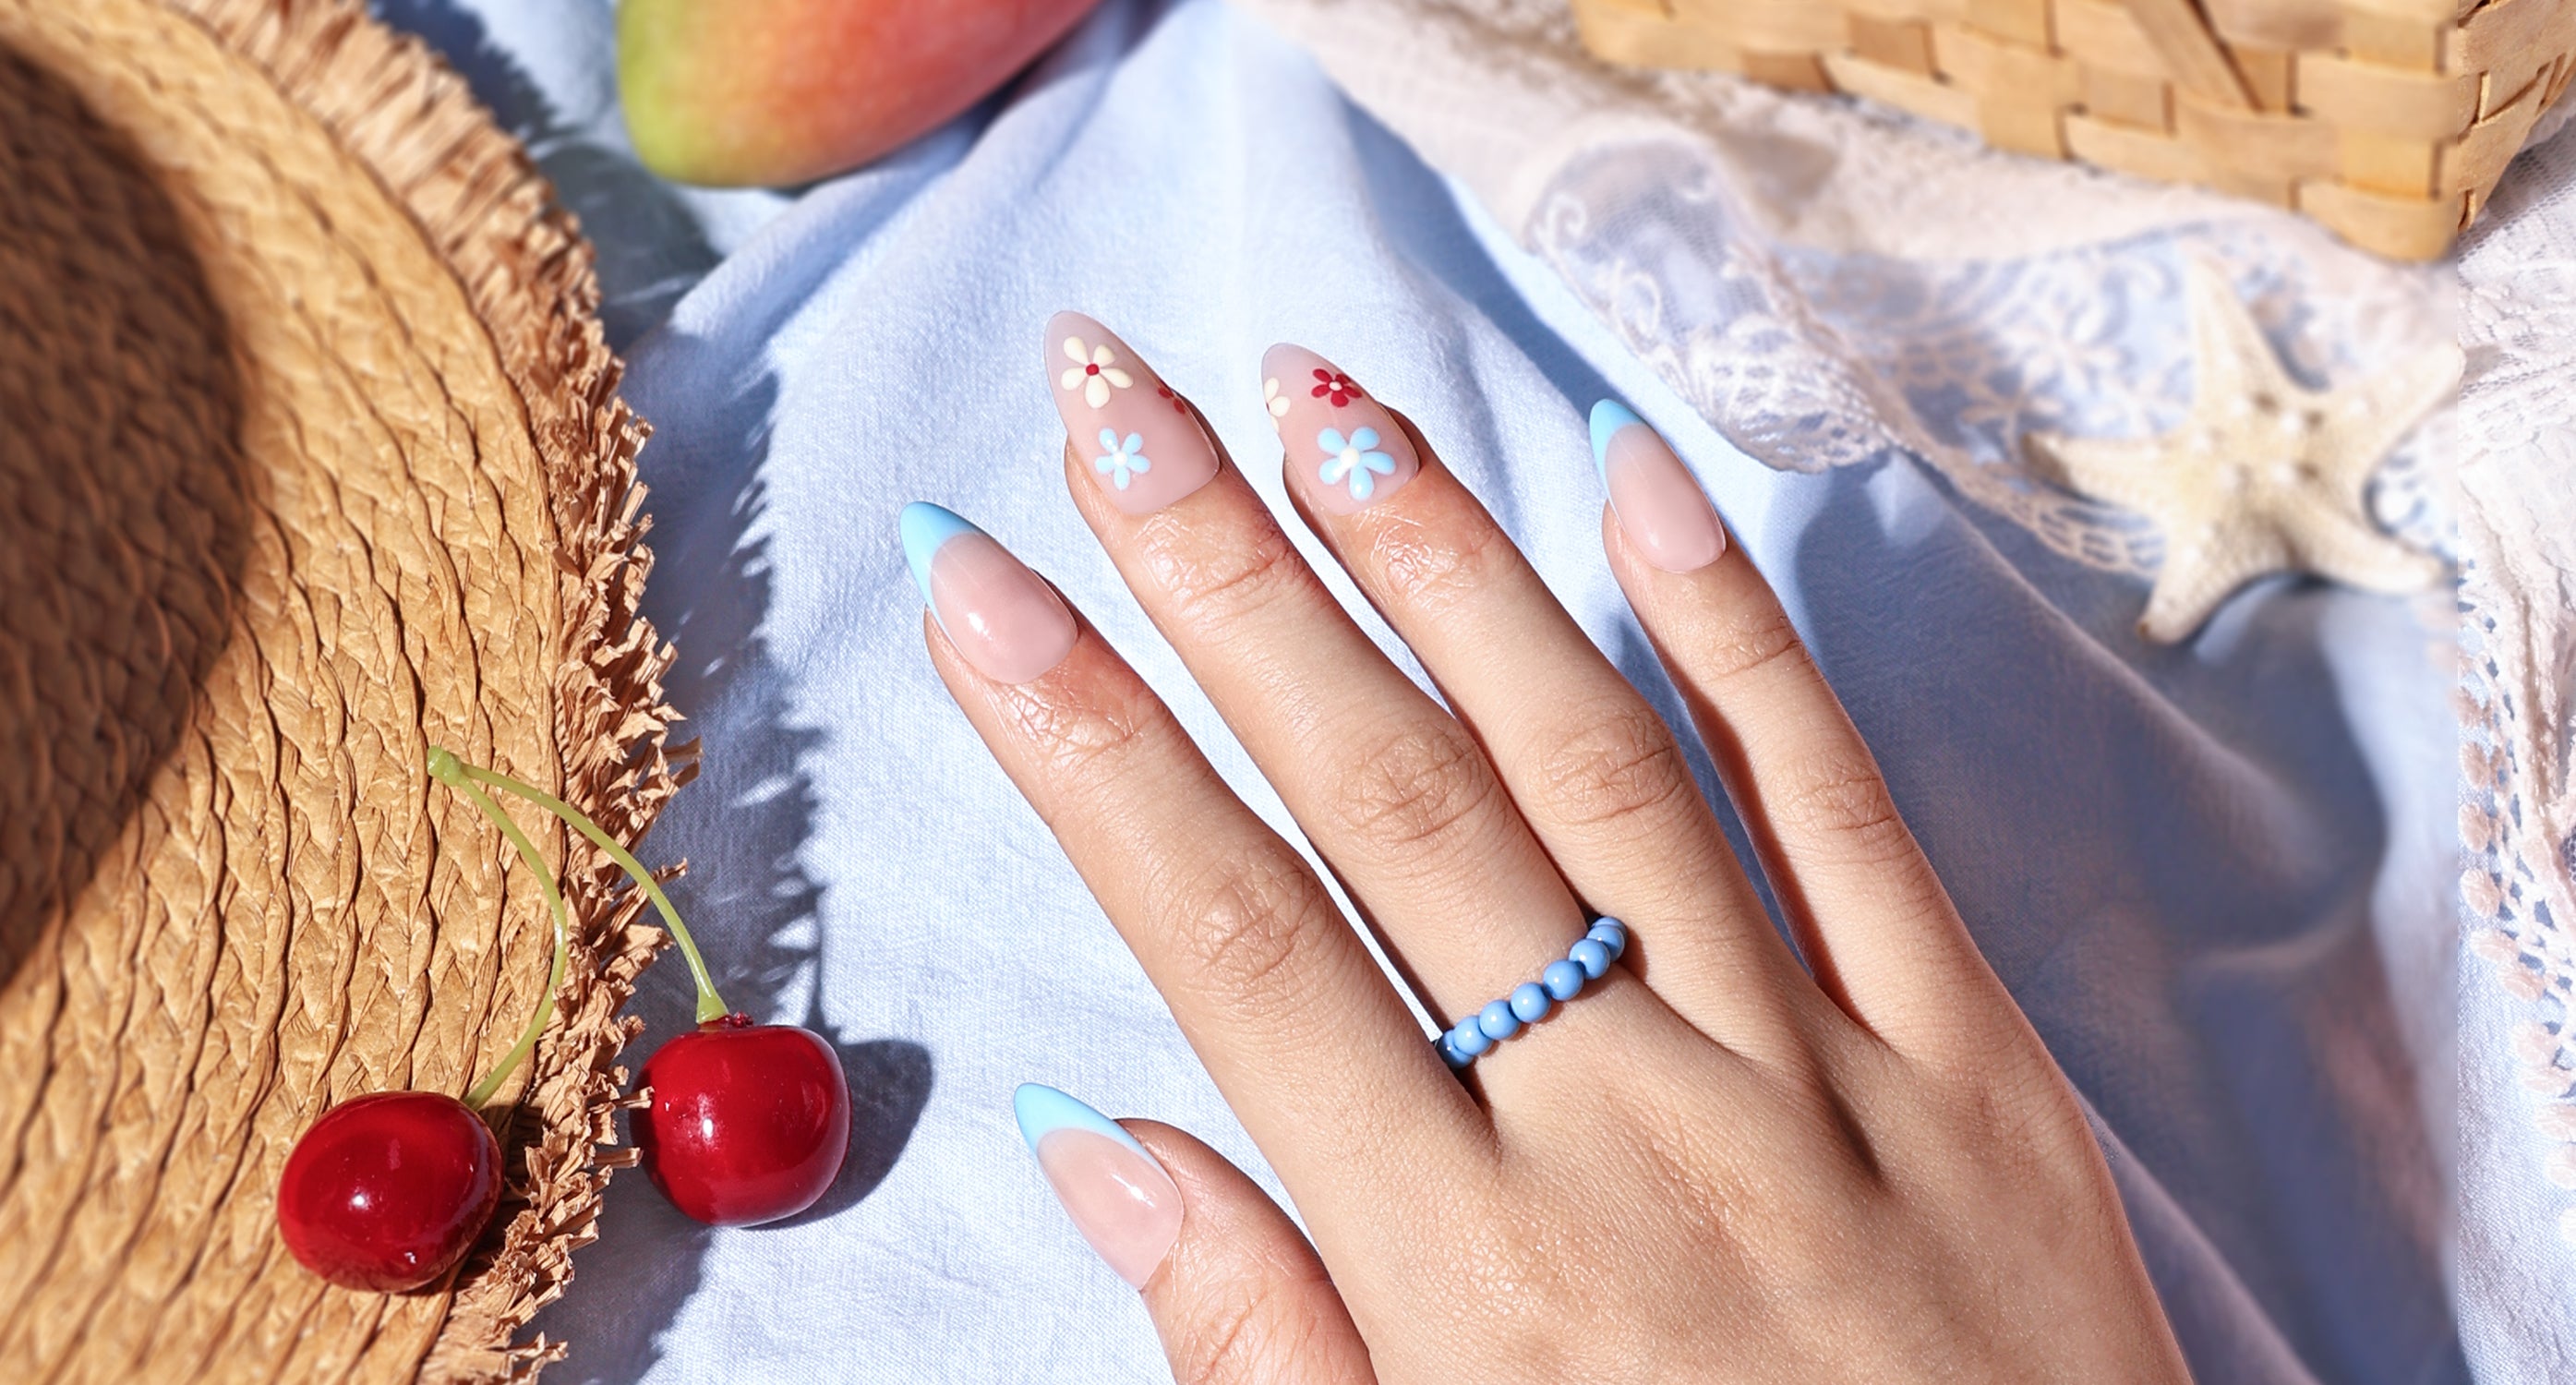
Choosing the right sanding band is crucial to achieving the desired nail results. By understanding the different types, coarseness levels, and practical applications, you can confidently select the perfect bands for your manicure needs. Remember to use them with care and for the right purpose, and your nails will thank you for it. Happy shaping, filing, and polishing! Click here to get more surprises!
To discover more about nail art tools, explore the following blogs:
The Must-Know Tips for Super Long Tungsten Nail Drill Bits
Crafting Nails with Precision: Your Ultimate Nail Brush Selection Manual
2023 Top Manicure and Pedicure Tools: Expert Picks
A Simple Guide to Understanding the Motors of Electric Nail Drills

Leave a comment
All comments are moderated before being published.
This site is protected by hCaptcha and the hCaptcha Privacy Policy and Terms of Service apply.